
The Base Exposure in Real Estate Photography: Are You Shooting More Frames Than You Need?
- Apr 9
- 3 min read
Updated: 1 day ago
Do you recognize the habit of taking an extra shot “just in case”, and still not feeling fully satisfied once you’re back home reviewing the images? Often, the issue isn’t that you need more exposures. It’s that the base exposure in your real estate photography wasn’t quite right to begin with. And that affects the entire result from the start.
What Happens When the Base Exposure Isn’t Right?
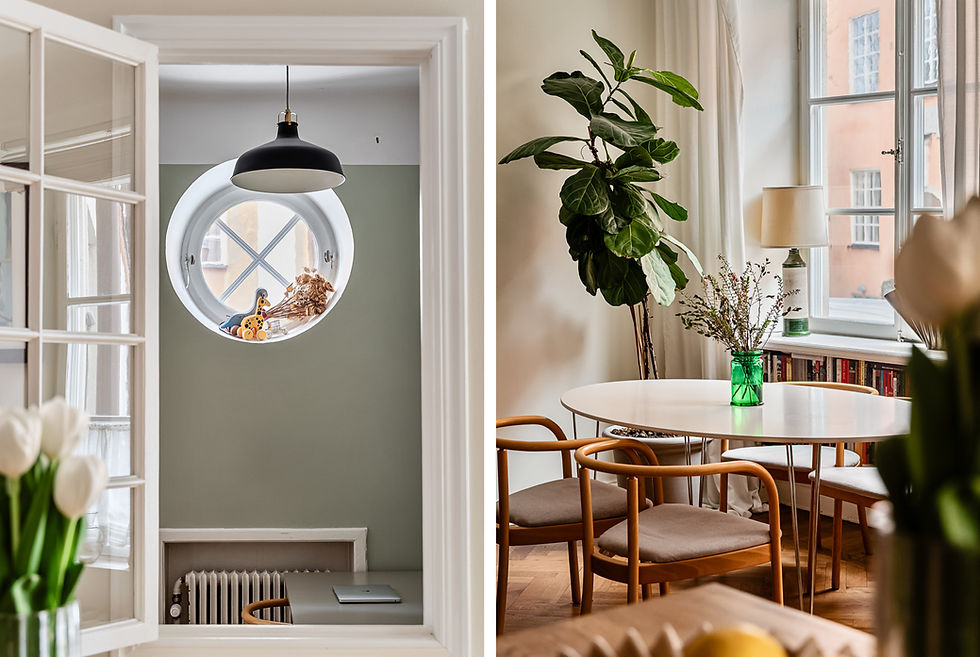
The base exposure is the image that should represent the room as it actually looks - with natural light, without flash, and without lamps turned on. It’s the exposure that the rest of your image set is built around.
Whether you work with only a few exposures or a larger bracketed set, one thing stays the same: the way you set your base exposure determines the rest of your workflow. When the base exposure is solid, you can work with more intention - capturing only the additional exposures that are actually needed for specific parts of the room, with every frame serving a clear purpose. When the base exposure is off, it often leads to “playing it safe” by shooting multiple variations of the same scene instead of making deliberate exposure choices.
The goal isn’t to collect as many images as possible. The goal is to create a stable foundation directly in-camera that gives you a reliable starting point for the rest of the process.

What You Gain From a Strong Base Exposure in Real Estate Photography
Fewer images to manage - less sorting, uploading, and backing up after every shoot
Faster image review at home - you know exactly what you captured and why
More predictable results - using the same approach in every room creates a more cohesive final gallery
Less stress on location - a clear system helps you work more calmly and methodically
Faster editing and more consistent final results
How to Set a Good Base Exposure
It’s about making an active decision - not letting the camera decide for you. Your base exposure should be strong enough to work on its own, aside from the window view.
Keep Aperture and ISO Consistent. Choose an aperture that gives you even depth of field throughout the room - often around f/8 - and keep your ISO as low as your situation allows. The setting you actively adjust should mainly be the shutter speed.
Expose for the Room, Not the Window. It’s completely fine for the windows to blow out in the base exposure - that’s expected and handled separately. What matters is that the light inside the room feels natural and correctly exposed.
Set White Balance Manually. Auto white balance can shift between images taken only seconds apart - and between different rooms. A fixed white balance keeps your values consistent throughout the shoot, making the images feel visually connected and much easier to work with in post-processing. The exact Kelvin value matters less than keeping it consistent.
Next Step
On your next shoot, try setting your base exposure deliberately, without taking a “safety shot” until you’ve actually checked the histogram and made a conscious decision. It’s a small adjustment, but one that makes an immediate difference.
The next part of this series covers white balance - and why auto white balance is one of the most common reasons images from the same real estate shoot end up looking inconsistent. Or, if you want to see the bigger picture right away, read more about how many exposures you actually need in the exposure guide.


Comments